
Week 1 : Bows
Bows! Bows! Bows!
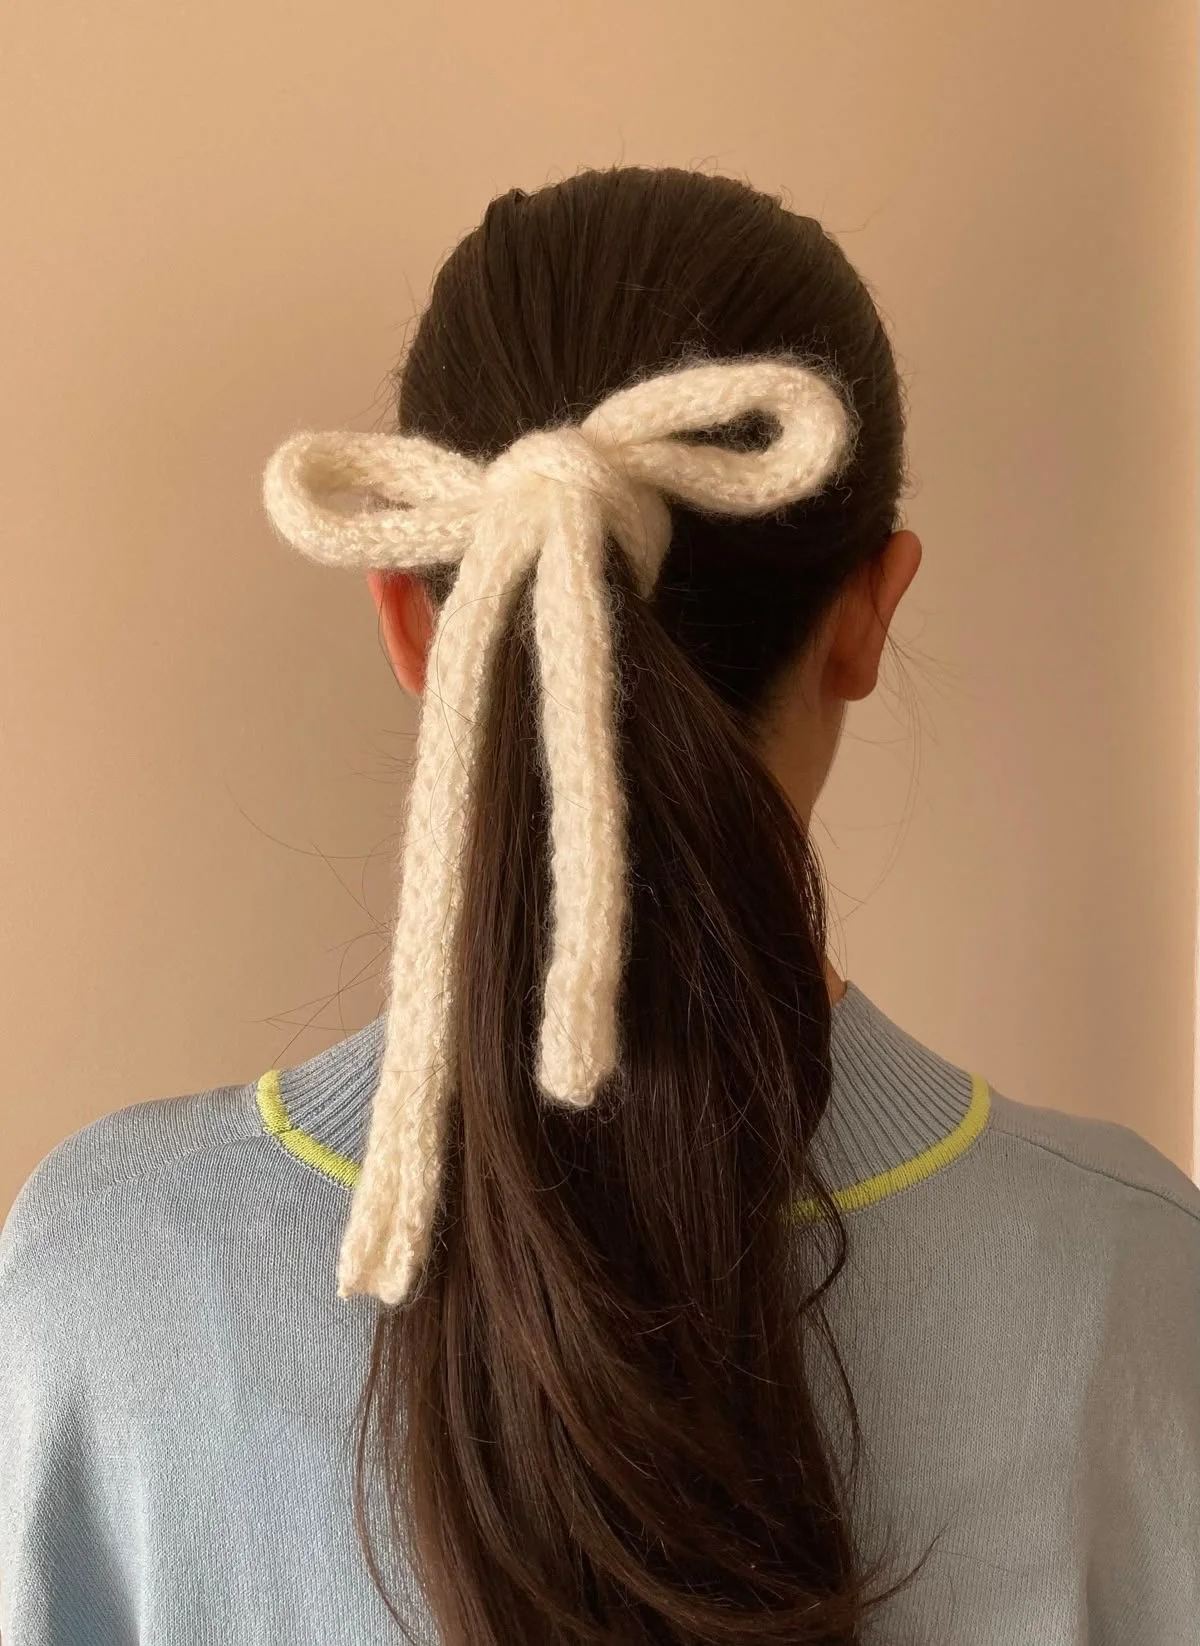
Above is the inspiration photo I grabbed off of Pinterest to set me on my path for this week’s project. I do not own this image
For all the knitters in the room, it basically boils down to an icord that you wear as a bow. It’s rather versatile depending on the length and quantity you make.
Based off this picture I was able to make three different projects which are shown in picture and pattern form below, enjoy!
Style 1: a pair of small bows to put in front of teeny pigtails. Length required for the icord: about 12” or ___cm
(Insert photo of Matilda without shmutze on her face)
Style 2: a single bow wrapped around a pony tail (basically my inspo photo). Length required for the icord: about 20” or ___cm
(Insert photo of Anna Bella wearing a bow tied around a high pony tail)
Style 3: a bow garland. Cute, right??
(I'm looking at you, Jessica. Although, to be honest, I'm now questioning if you are a bow-lass or not, text me, I'm curious)
{Beth, I wish I had the forethought to make you a big ol’ bow garland in time for your thirtieth birthday party… but alas… I'm not that calculated yet.}
(Insert photo of bow garland in Anna Bella’s room)
These are made from a pile of smaller bows constructed in a long snake and then cut down to size, tidied up and then assembled. It’s tedious as the snake gets longer but much simpler, a bit like crocheting a throw blanket all in one piece… the closer you get to the end, the more irritating it is to work on because you’re just dragging around so much weight.
Materials
Fingering weight yarn
US size 2 circular, or double pointed knitting needles or 2.75 mm
Scissors
Yarn needle
Step one: long tail cast on six stitches, leaving behind a 2” tail so you can weave in your ends later using a yarn needle.
Step two slide your six stitches to the other end of your needle, then knit all six stitches, paying close attention to knit the first stitch very tightly so that it doesn't form a ladder on the backside. Pro tip after you lift off your first stitch you can tighten it a touch more.
Step three: repeat step two for X amount of inches or X amount of centimeters for a small bow or X amount of inches X amount of centimeters to make a large bow. You’ll have to experiment to figure out what length works for what sized bow you are going for. You can also experiment with how big loops you want and how long of tails you want.
Step four: once you complete the desired length required for your bow, snip your yarn leaving 4” behind then use your yarn needles to insert the yarn into your live stitches, pull your needles out and then cinch tight. Tie a knot then carefully insert your yarn needle down the hollow tube of the icord to “weave in” your end. Poke the yarn needle through the wall of the icord a few inches out, pull it out and snip off the remaining tail. Then weave in your other end from the beginning in a similar fashion.
Step five: once your icord is tidied up, fold it into a bow using the images below as a guide and then secure it with a 10” piece of yarn
Note; we aren’t actually knotting the bow, merely folding it and securing it with some scrap yarn like one does when one makes a tassel.
(Insert step by step walk through images of folding bow and tying it)
If you want to make a bow garland, you can simplify the process by knitting an extremely long icord and then cutting it up into multiples of the same length, tidying up the ends and then assembling like so:
(Insert step by step photos of assembling in a chain)
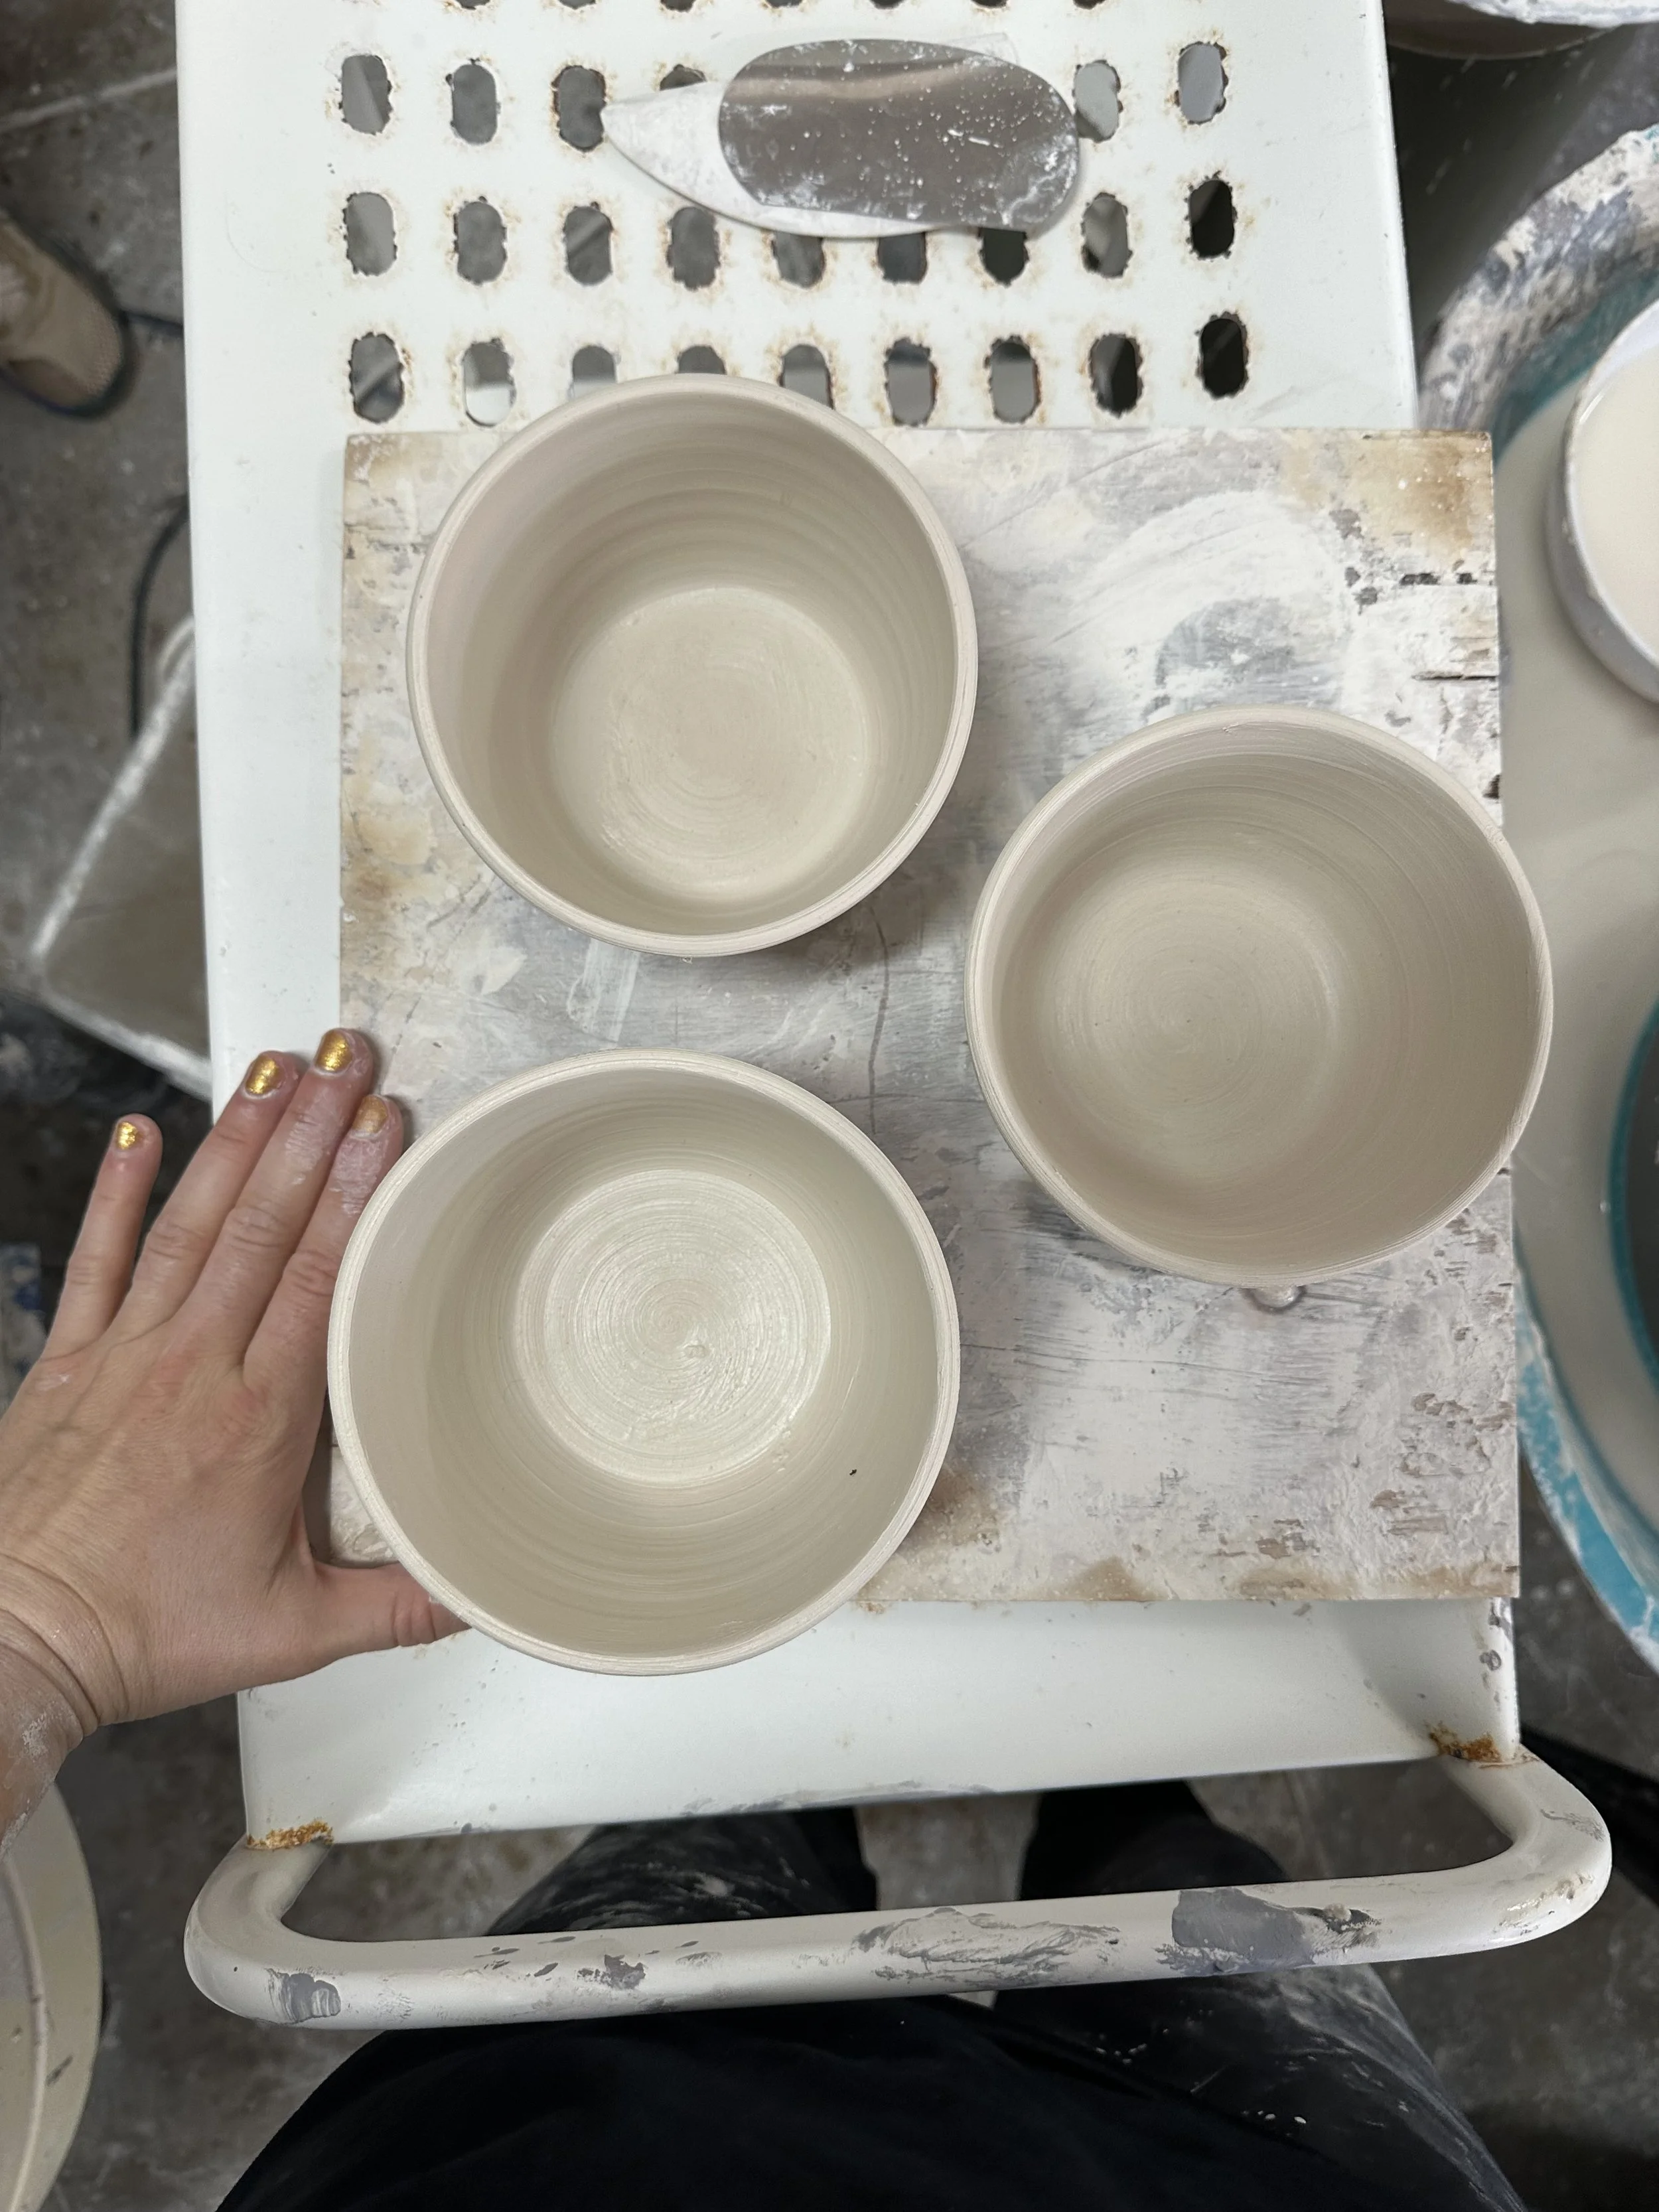
Other projects I worked on this week:
I’ve begun throwing a collection of mugs which will total in 16. I plan to have them prepared well before painting week comes along, which should be three months from now. This last Sunday was an excellent throwing day, I threw five cylinder forms that are uniform in height, shape, and diameter. (3 pictured)